I’ve been juicing for a while and saw a post about Wheatgrass. I knew it was a healthy juice and many people take a shot of it to get their day going. I also heard it was a little expensive to purchase, so why not try to grow my own.
As with almost anything these days a little Googling goes a long way. Here’s my adventure.
I pick up some Hard Winterwheat Berries (seeds) from Frazier Farms on Oceanside Blvd., these aren’t organic, but they will do to get me started. Next batch I will get organic.
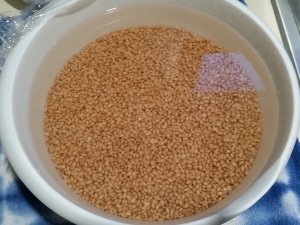
From my research, two cups of seeds should be adequate for a 16″ x 16″. (I actually found this to be a bit much and now only do one and a half cups per trays. Rinse the seeds with cold water (filtered preferred-I’ve done it both ways and gotten the same results) and then soak for eight hosts. Rinse and soak two more times for a total of three cycles.
By this time you should see little sprouts (1/16th inch) emerging from the seeds. We are now ready to plant.
Use a well draining tray and fill with about two inches of potting soil. I presonally made my own mix with garden compost, peat moss, perlight, and some potting soil that I have left over. Thoroughly soak the mix before putting in the tray. If the tray’s holes are too big, you can line the bottom with non-bleached paper towels (I got mine from Trader Jo’s). Lightly compact the soil and water until it drains from the bottom. It can be a little messy, so find an appropriate work area until you got a system down.
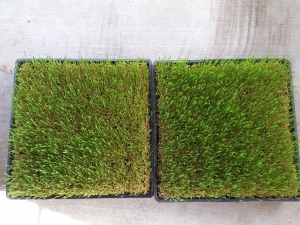
Carpet the seeds on top of the compacted soil. They can be touching, but you don’t want many layers. I’m still experimenting with this. Here are two photos of my experiments. The less dense seemed to work better.
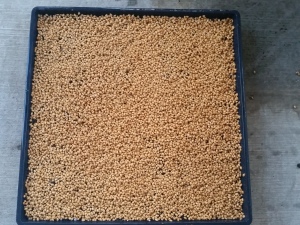
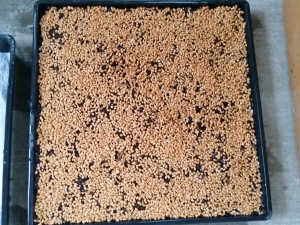
Water a little more. Cover with wet paper towels, being careful not to touch the seeds as they will stick to the paper. I have an upside down tray I use.
Water in the morning and make sure the paper towel is wet at night. If you have well draining trays, I don’t think you can over water in the beginning. Once you have grass forming, you can back off a little bit.
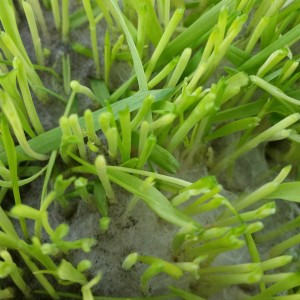
Here’s a close up photo of the seeds with larger spouts. You can see the sprout and the root (white hairy protrusion) forming.
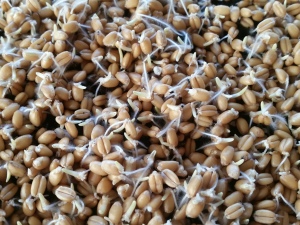
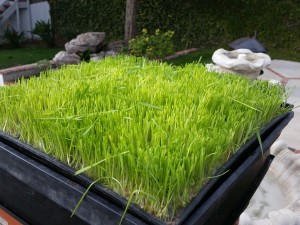
Here’s some photos of the progress at about 4 days.
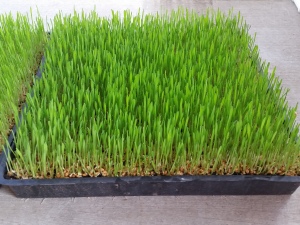
This is at about 8 days.
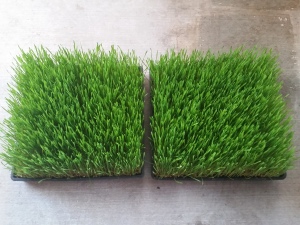
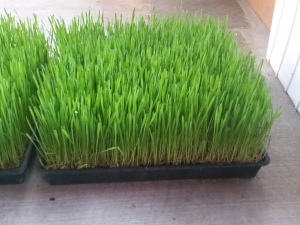
At this time, I took the try in the house and let it grow for a couple of more days and then harvested the whole batch.
Sometime during the growing part, you may want to start soaking some more berries so you can repeat the whole process and keep your supply of Wheatgrass in the green.
Harvest
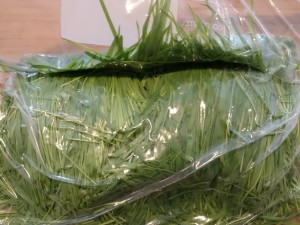
I usually harvest the whole tray of Wheatgrass at one time and put it in a bag in the refrigerator for easy use the next time I want to juice. A knife or scissor works fine. As you can see in the photo I’ve left about 1-2 inches of the stem of the grass because I have a little problem with mold and want to keep it well away from the harvest. My research says this mold is not harmful otherwise I would be tossing the whole batch. Push as much air out of the bag to reduce the oxidation of the Wheatgrass. I’ve kept Wheatgrass in the refrigerator for over a week will little visual signs of oxidation. I’m sure it has lost some of it’s nutritional value, but its the best I can do to manage my supply.
Troubleshooting
I’ve been having a mold problem at the base of my Wheatgrass. See the white cotton looking stuff with black specks at the the base of the grass. My research says it’s not harmful, so I’ll keep the harvest, but cut far away from the mold. I’m not sure if it’s airborne or in the soil. I’ll do some research and see if there is a way to get rid of it or at least drastically reduce it.
I know mold thrives in certain humidity levels, so I’ll experiment with adjusting that and moving my tray into the sun during the day. I’ve also read that misting with white vinegar can help.


